










How to grow luxurious gladioli and preserve the bulbs until the next season: a complete guide
Kyiv • UNN
Gladioli require a sunny location, regular feeding, and protection from thrips. The bulbs are dug up 35-45 days after flowering and stored at +4...+8 °C.

Gladiolus is a true floral king in the garden. Its tall, slender inflorescences with a rich palette of colors can transform even the simplest flowerbed into a work of art. However, despite its exquisite beauty, the gladiolus is quite demanding in care. For the plant to produce powerful flower stalks and for the bulbs to survive until the next season, the gardener needs to know many subtleties.
How to properly choose a site for gladiolus, fertilize it, effectively protect it from pests, and properly prepare it for winter, UNN has figured out.
Why gladioli are grown and why they are popular among gardeners
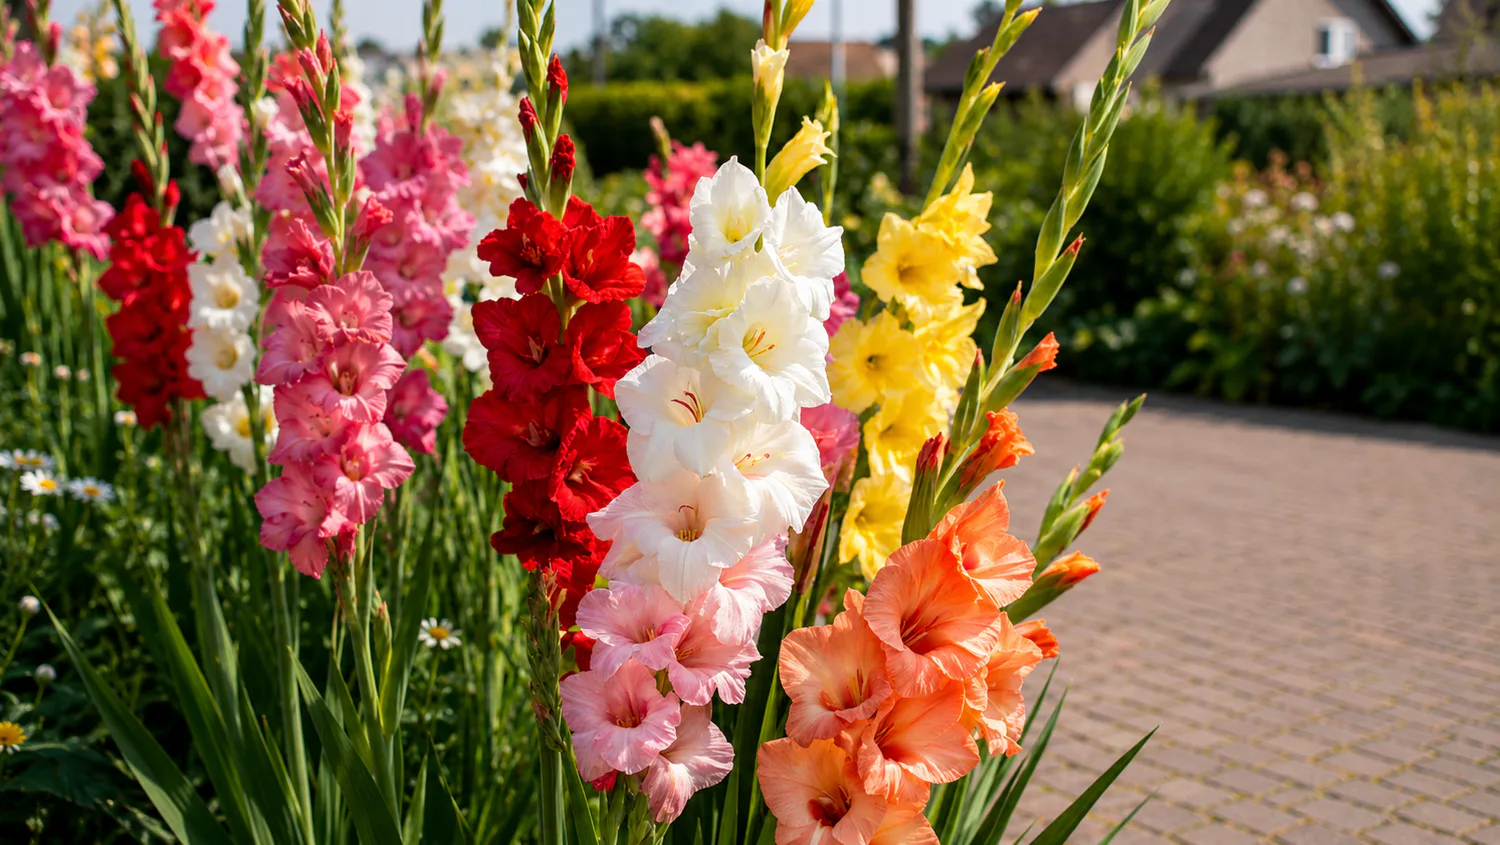
Gladiolus, or sword lily, is a recognized aristocrat among perennial bulbous plants. Thanks to its tall flower stalks, variety of petal shapes, and rich palette of shades (from delicate white to almost black), these flowers are the adornment of any homestead plot.
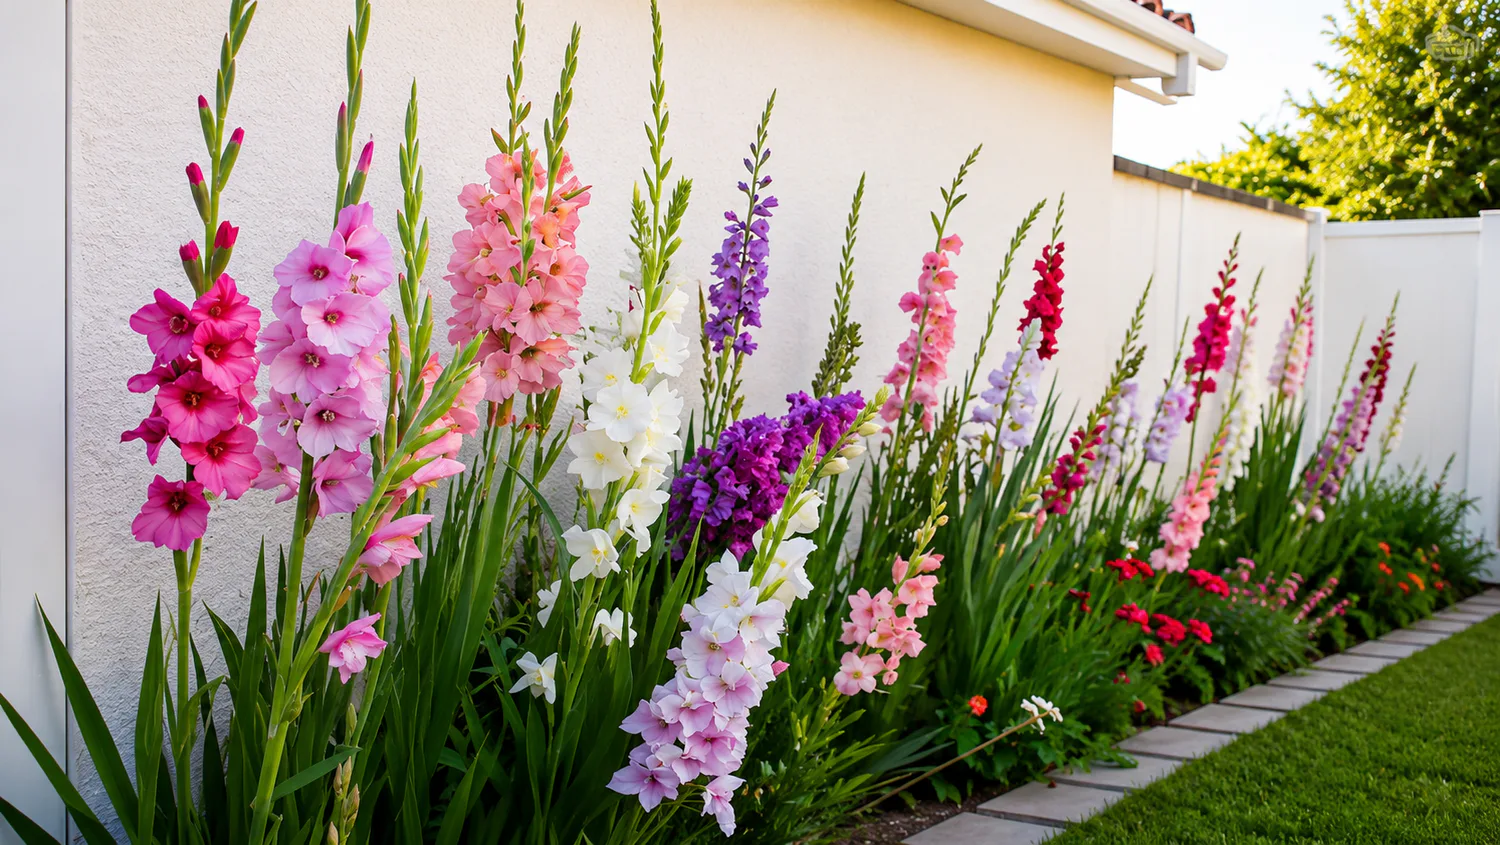
In landscape design, gladioli are used to create spectacular group plantings, mixborders, and bright accents along garden paths.
Besides decorating the garden, gladiolus is one of the most popular flowers cut for bouquets. When cut, its inflorescences gradually open from bottom to top. That is why such a bouquet appears fresh and aesthetic for two weeks.
However, to grow powerful stems with large flowers and form healthy bulbs for the next season, the gardener must adhere to clear rules of agricultural technology. Growing gladiolus is a holistic process that requires attention to watering, fertilizing, plant formation, and protection from diseases.
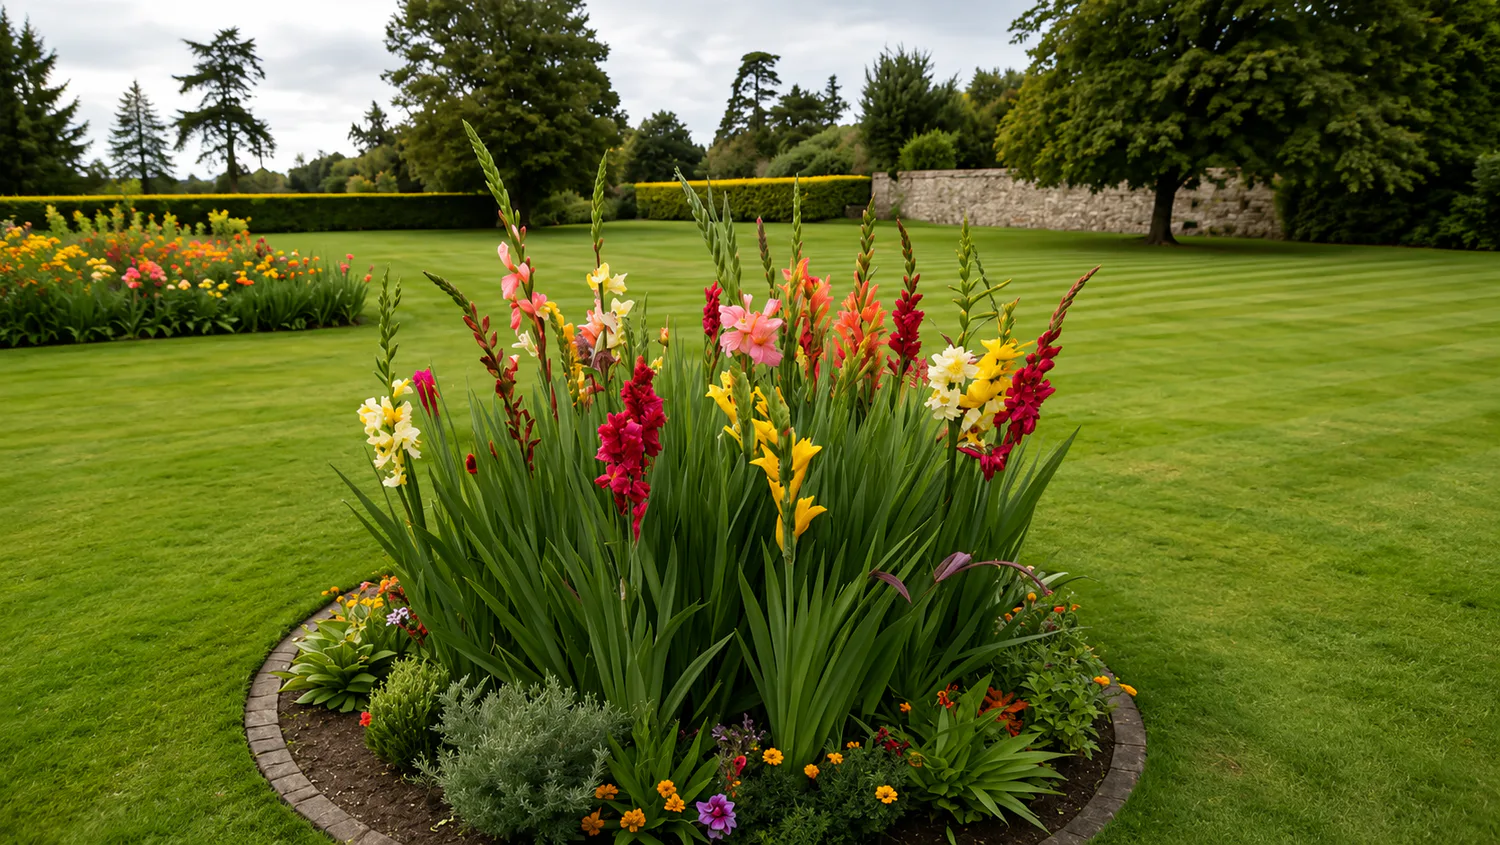
When and where to plant gladioli
The success of growing gladioli depends 80% on the correct choice of location and optimal planting times.
Bulbs should be planted in open ground when the soil at a depth of 10-12 cm warms up to +10°C. In most regions of Ukraine, this period falls at the end of April to mid-May. Early planting in cold and wet soil leads to rotting of the bulbs, while too late planting slows down the development of the root system, causing flowering to shift to an unfavorable autumn period.
It is worth remembering that gladioli are exceptionally light-loving. Even light shade in the first half of the day can delay flowering by 15-20 days. And planting in dense shade will cause the plant not to produce a flower stalk at all. Therefore, open, maximally sunny areas are chosen for gladiolus.
In addition, tall stems with heavy inflorescences easily break or lodge under the influence of strong gusts of wind. Therefore, the place chosen for a flowerbed with gladioli should be protected from drafts, but at the same time well-ventilated to prevent stagnation of moist air.
Let us emphasize that gladioli should not be planted in the same place for more than two years in a row. Undesirable predecessors for gladiolus are also other bulbous plants, asters, marigolds, and nightshade crops (tomatoes, potatoes, eggplants), which share fungal and viral diseases with it. It is recommended to return gladioli to their previous place no earlier than after 3-4 years.
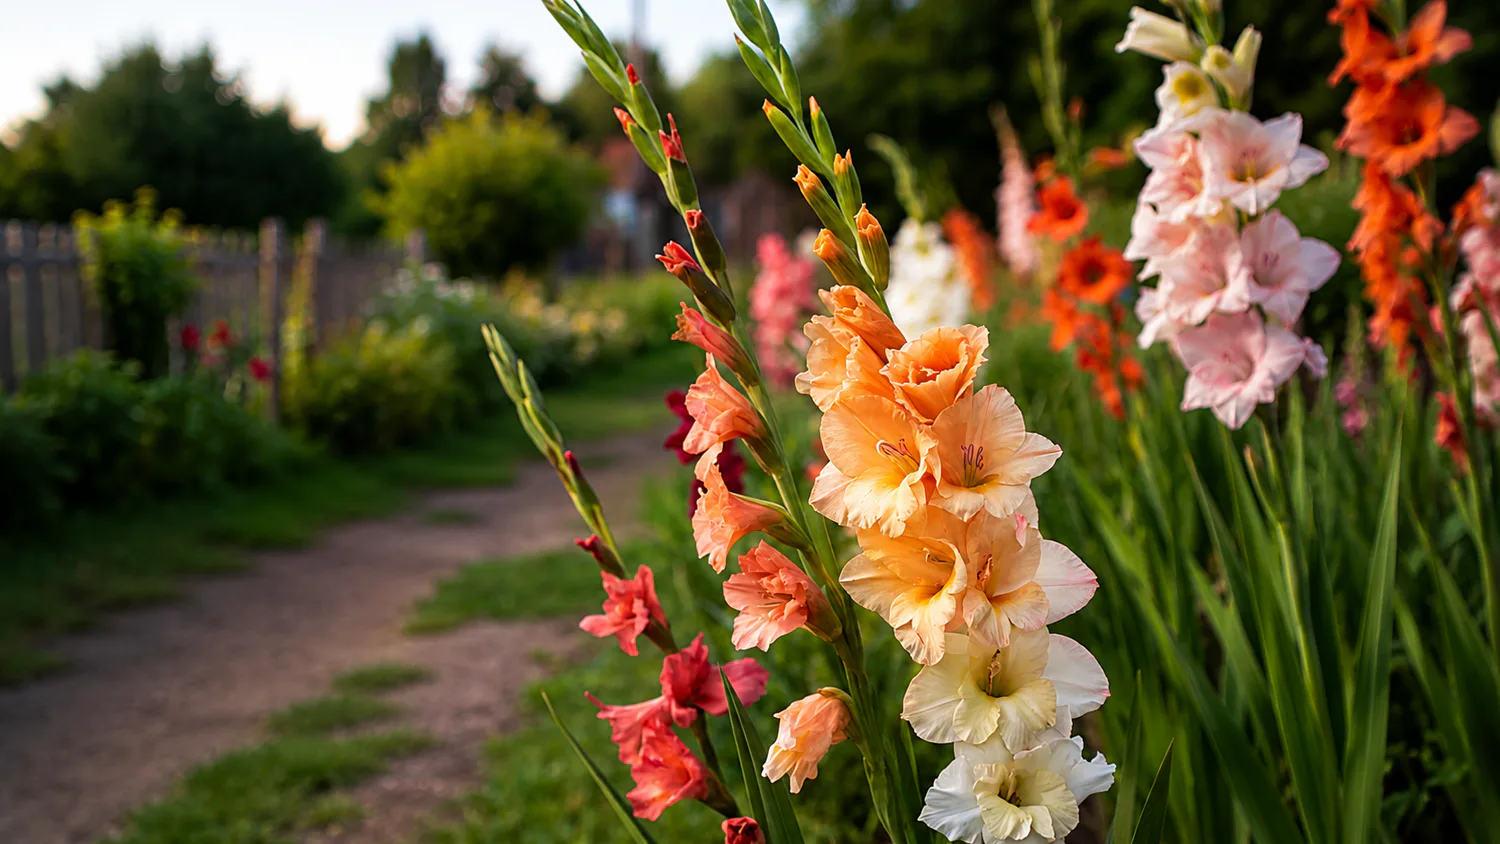
What soil is suitable for gladioli
Gladioli are quite demanding regarding the structure, air permeability, and nutrient composition of the soil. The ideal environment for them is soil with a slightly acidic reaction (pH 6.0-6.5). In overly acidic soils, plants grow slowly, leaf tips turn yellow, and flowers form small and deformed. In an excessively alkaline environment, iron becomes unavailable for absorption, causing a severe form of chlorosis (yellowing of leaves between veins).
The best for gladiolus are light loamy or sandy loam soils with a high humus content. Heavy clay soil poorly transmits water and oxygen, causing the death of the root system. To improve heavy soil, coarse river sand, peat, and humus are added in the autumn for digging.
The bed for gladioli is prepared in the fall. The area is dug to a depth of 30-35 cm, and phosphorus-potassium fertilizers and well-rotted compost are applied. It is strictly forbidden to use fresh manure: it causes an outbreak of fungal diseases (including fusarium) and leads to the death of the bulbs.
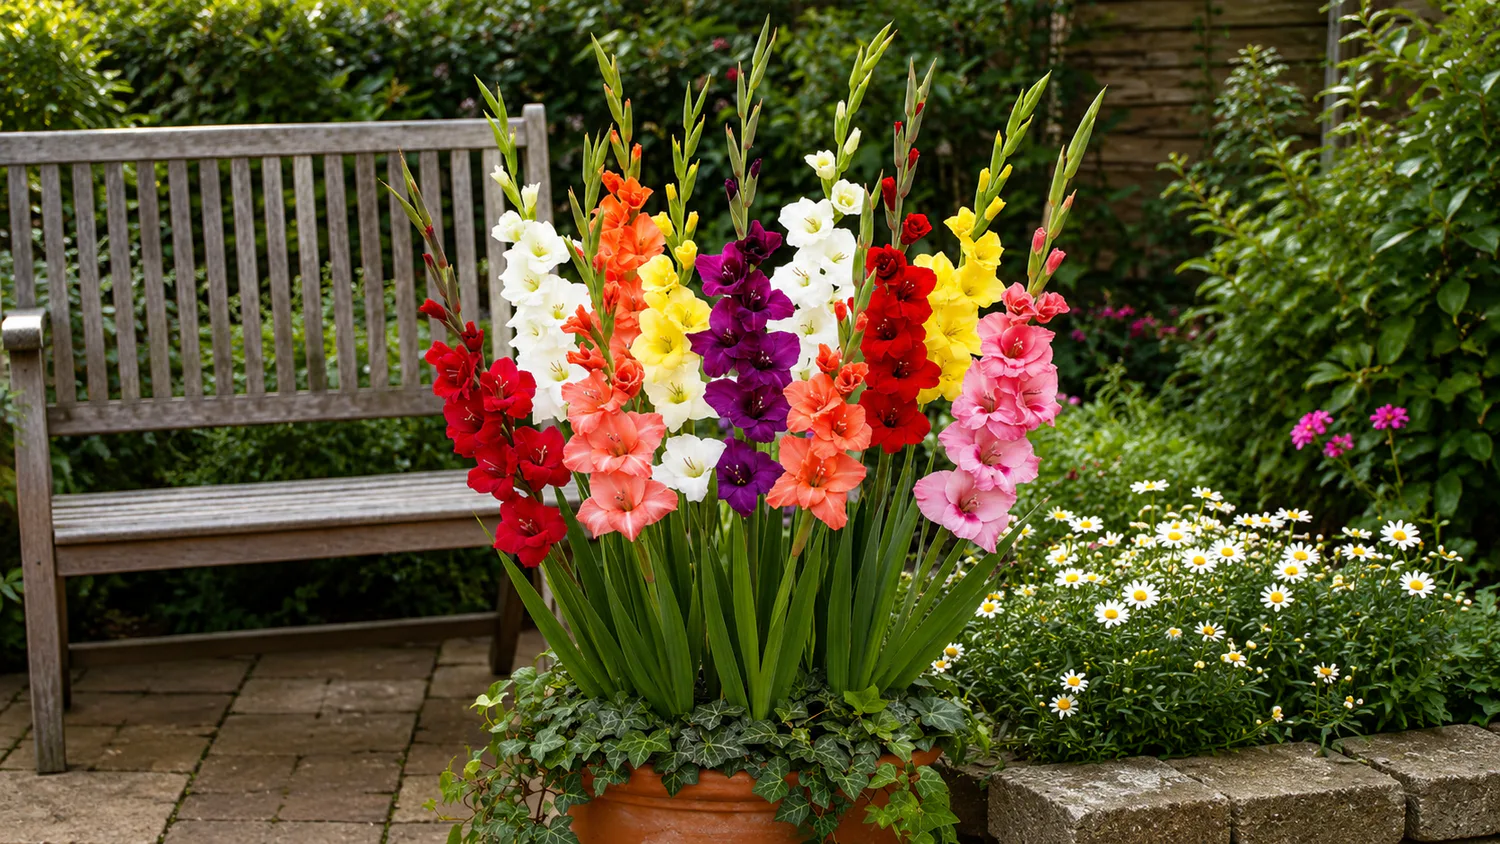
How to water gladioli
Watering is an important component of gladioli agricultural techniques. The plant's powerful root system lies at a depth of 30 to 40 cm, so surface moistening of the soil is completely ineffective for this crop.
Gladioli should be watered infrequently but very abundantly. The optimal water consumption is 10-15 liters per 1 sq. m of planting. Under moderate weather conditions, gladioli are watered once every 7-10 days. During hot and dry periods, the frequency is increased to once every 3-4 days.
Water should be applied directly into inter-row furrows 3-5 cm deep or at the root. Water droplets should not fall on the leaves and buds, as droplet moisture creates an ideal environment for the development of gray rot and other fungal infections. For watering, it is better to use settled, sun-warmed water.
After each watering or heavy rain, as soon as the top layer of soil dries slightly, the inter-rows must be loosened to a depth of 2-3 cm. This destroys the soil crust and ensures oxygen access to the roots. To reduce moisture evaporation and avoid frequent loosening, it is recommended to mulch the bed with peat, humus, or chopped straw in a layer of 3-5 cm.
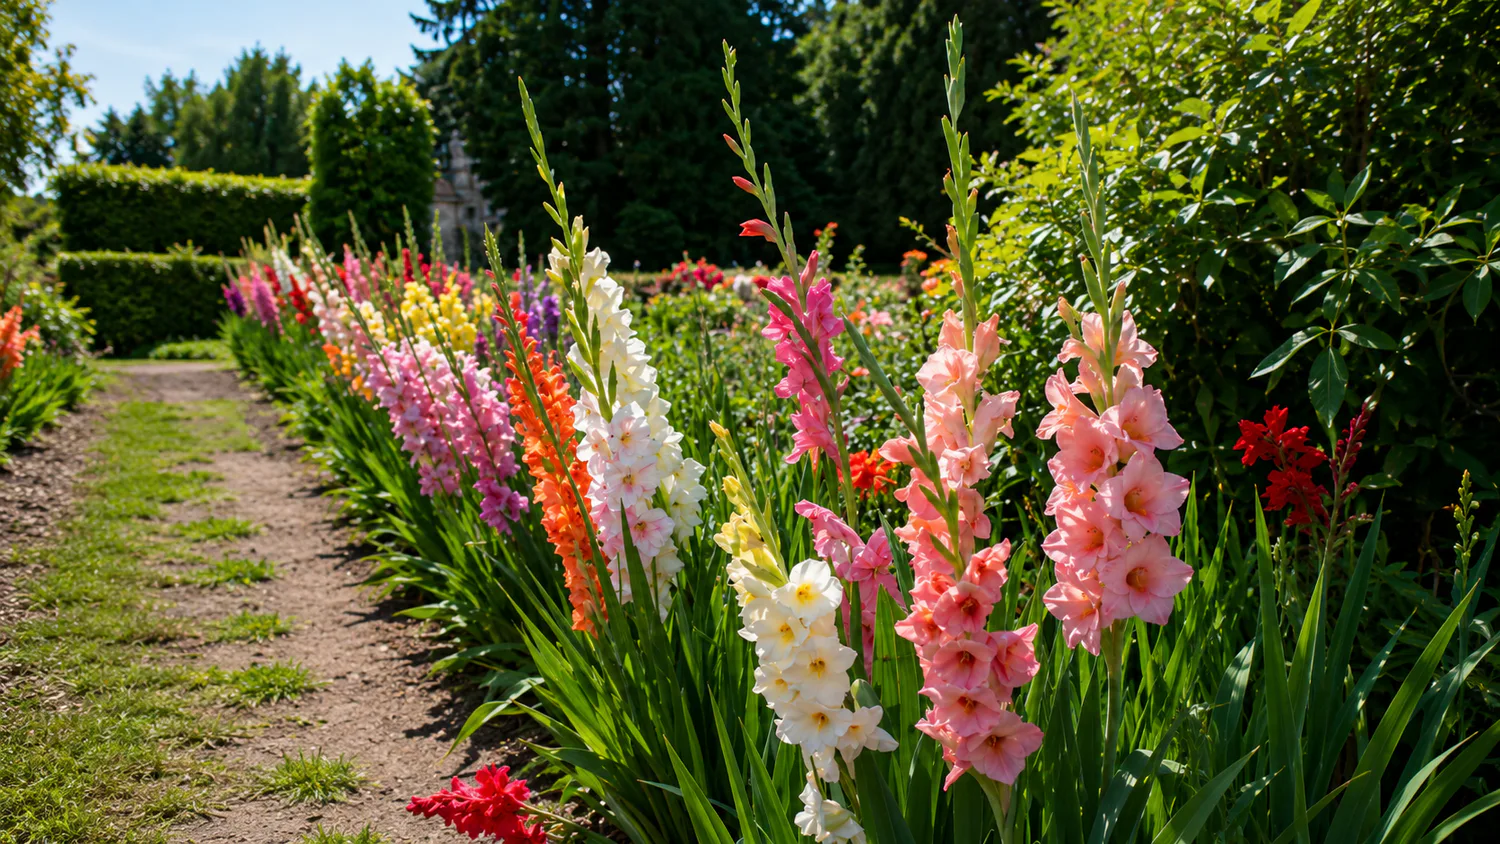
What to feed gladioli
Since gladioli quickly build up significant vegetative mass and form powerful inflorescences, they require systematic fractional feeding throughout the season.
Gladioli are fed for the first time after at least 2-3 leaves appear. During this period, the plant actively grows leaves and needs nitrogen. Therefore, ammonium nitrate or urea is applied to the soil at a rate of 25-30 g per 1 sq. m. If desired, a little potassium can be added to strengthen the leaves.
The second feeding occurs when 5-6 leaves appear. At this stage, the flower stalk is being set. The plant needs complex nutrition. Therefore, gardeners use:
- nitroammophoska (30-40 g per 1 sq. m);
- a mixture of ammonium nitrate (15 g);
- superphosphate (20 g);
- potassium sulfate (20 g).
The third feeding of gladioli is necessary in the budding phase. After the appearance of flower stalks, nitrogen is completely excluded from the diet to avoid stimulating excessive leaf growth. Phosphorus-potassium fertilizers are applied (35-40 g of superphosphate and 20-25 g of potassium sulfate per 1 sq. m), which ensure bright, long-lasting flowering and large bud size.
The fourth feeding is carried out after flowering. At the end of August or beginning of September, when flowering is complete, the plants are fed with potassium-phosphorus mixtures or a solution of wood ash (1 cup of ash per 10 liters of water). This is critically necessary for the full ripening of the replacement bulb and the formation of "corms".
Additionally, 1-2 times per season, gladioli are sprayed with a solution of microelements (boric acid, potassium permanganate, zinc) to improve the plant's overall immunity.
Pruning and shaping gladioli
Proper shaping and timely pruning allow preserving the plant's decorative appearance and conserving its resources for bulb development.
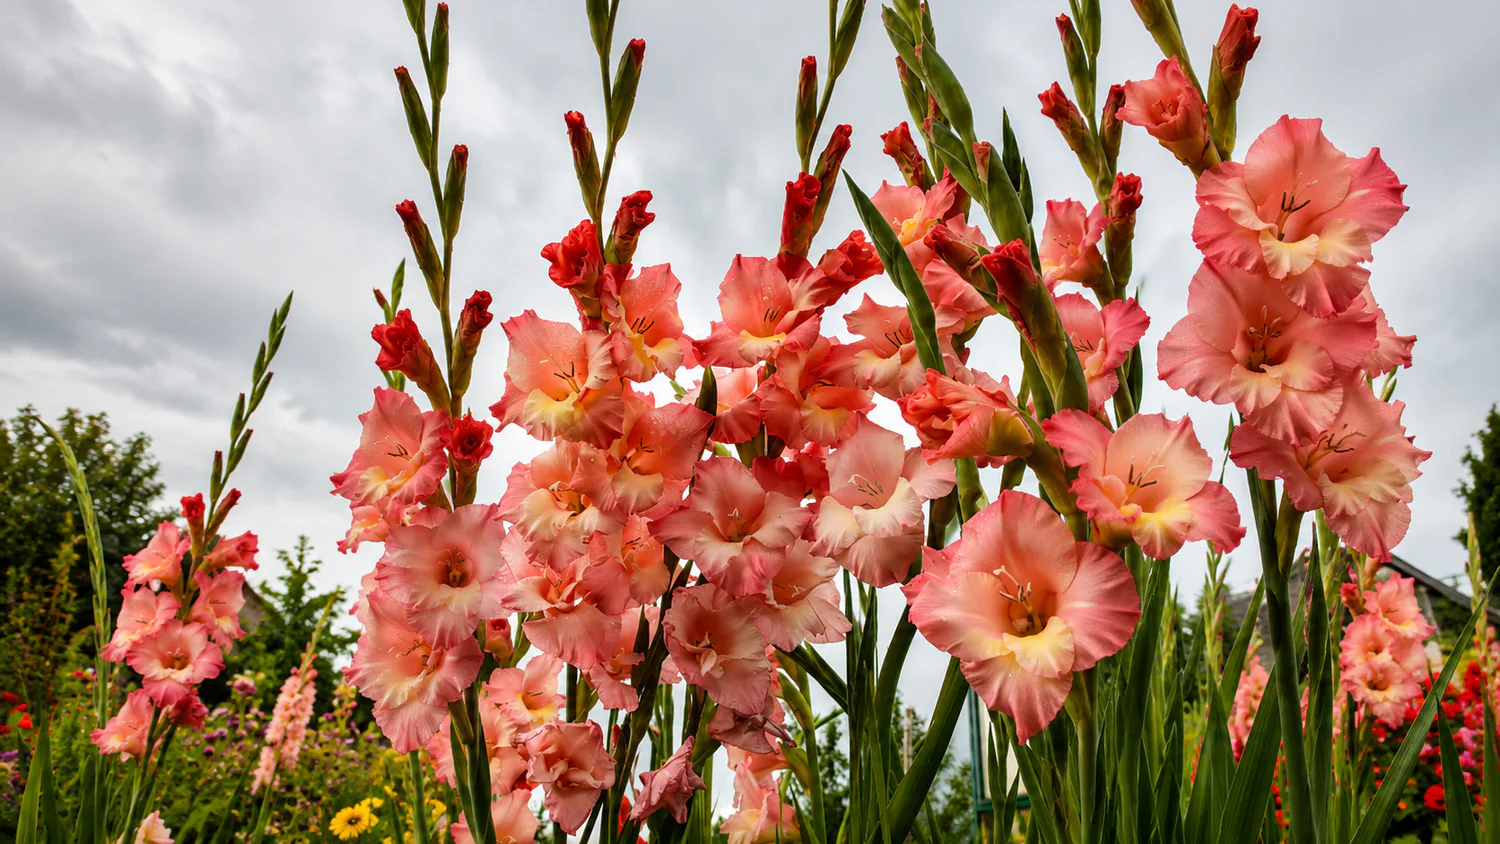
Tall varieties (over 120 cm) lean or bend under the weight of inflorescences. When the stems reach a height of 40-50 cm, a stake is placed next to each plant, or a special net (trellis) is stretched along the row, to which the flower stalks are tied with soft twine.
The main rule when cutting flowers is to leave at least 4-5 full lower leaves on the stem. They provide photosynthesis, as a result of which the underground bulb grows and matures. The cut is made with a sharp, disinfected knife in the morning or evening hours. The knife is inserted into the leaf axil, an incision is made, and the flower stalk is carefully twisted out. It is best to cut the inflorescence when the lower flower is fully colored or just beginning to open.
If gladioli are left to decorate the plot, after the lower buds have bloomed, the inflorescence should be completely cut off. Seed maturation exhausts the plant and takes away nutrients that should go to the development of the bulb.
Diseases and pests of gladioli
Gladioli are quite vulnerable to damage by insects and microorganisms, so protective measures must be systematic.
Among the main "enemies" of gladiolus, gardeners name:
- gladiolus thrips. This is the smallest (up to 1.5 mm), but the most dangerous pest. Insects and their larvae suck sap from leaves and buds. Flowers become discolored, covered with spots, appear "burned" and do not open. During storage, thrips damage bulbs in the cellar. To protect plants, they are treated with systemic insecticides every 7-10 days starting from the phase of 3-4 leaves appearing;
- wireworms (larvae of click beetles). They gnaw holes in the bulbs, leading to rotting and the penetration of infections. To avoid this, the soil should be carefully dug, acidic soils limed, and couch grass, in which wireworms like to live, systematically destroyed.
In addition, gladiolus can suffer from fusarium wilt. This is a fungal disease in which leaves turn yellow and dry out, and watery sunken brown spots appear on the bulb. Affected plants are immediately dug up and burned. For prevention, bulbs are soaked before planting in a solution of the preparations "Maxim" or "Fitosporin-M".
Gray mold can also bother gladioli. It occurs in damp and cool weather. It can be noticed as brown spots on the leaves and a gray fluffy coating on the petals. To combat the disease, plants are sprayed with fungicides "Skor", "Topaz", or "Bordeaux mixture" — an aqueous solution of copper sulfate and lime.
How to prepare gladioli for winter
Gladiolus bulbs cannot withstand Ukrainian winters, so annual digging and proper storage are a mandatory condition for their cultivation.
Bulbs are dug up 35-45 days after flowering or cutting the inflorescences. Usually, this period falls at the end of September — mid-October (before the onset of persistent frosts). Early and dark (burgundy, purple) varieties, which have weaker immunity, are dug up first; the last to be dug up are small-flowered varieties and plants grown from "cormels".
Plants are carefully dug up with a garden fork, stepping back from the stem to avoid damaging the cormels. The stem is cut with pruning shears, leaving a stump 1-2 cm long. This protects the bulb from the penetration of thrips from the leaves. The old (mother) exhausted bulb and roots are carefully separated from the new replacement bulb.
After this, the planting material is washed from the soil and disinfected for 30 minutes in a solution of fungicide with the addition of insecticide to destroy thrips.
Drying the bulbs is the most important stage of preparing plants for wintering. The disinfected bulbs are laid out in 1-2 layers in mesh boxes. For the first 10-14 days, they are dried at a temperature of +25...+30 °C in a well-ventilated room. For the next 3-4 weeks, drying continues at a temperature of +20...+22 °C.
Dried bulbs are placed in paper bags or wooden boxes, sprinkled with dry peat or sawdust. Planting material is stored in a dry, dark room at a temperature of +4...+8 °C and a relative humidity of 60-70% (in a dry cellar, basement, or on the bottom shelf of the refrigerator). The planting material is inspected monthly to timely detect and remove damaged specimens.
Reminder
Earlier, UNN wrote about how to care for petunias so that they bloom all summer. After all, the flower needs regular watering, nutritious soil, and pruning.